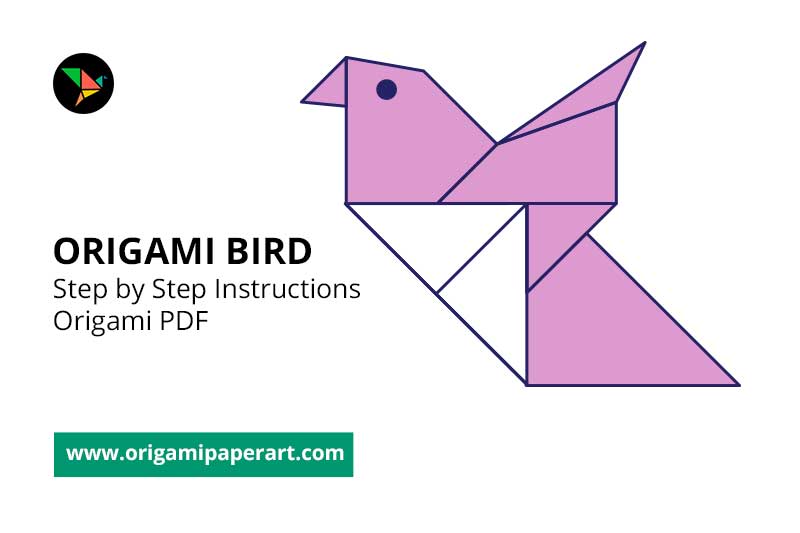
Origami Paper Bird 9 Step by Step Easy – A Beginner’s Guide
Looking for a fun and creative craft project that anyone can do? Learning how to make an origami paper bird is a relaxing and satisfying experience perfect for kids, beginners, or anyone looking to explore the beautiful world of paper folding. In this guide, we’ll walk you through 9 easy step-by-step instructions to create your very own origami paper bird.
Whether you’re decorating your room, making a handmade gift, or just want to unwind, this simple origami bird tutorial will help you fold your way to something beautiful.
Origami Art and Craft Materials on Amazon
Materials You’ll Need
Before we dive into the steps, let’s make sure you have everything ready:
- 1 square sheet of origami paper (any color or pattern you like)
- A flat surface to fold on
- Patience and a little creativity!
That’s it no glue, scissors, or tape required!
Origami Paper Bird: 9 Easy Steps
Step 1: Start With a Square Paper
Place the square paper colored side up. If your paper is single-sided, the white side should face down.
Step 2: Fold Diagonally
Fold the paper diagonally from corner to corner to form a triangle. Crease well and unfold.
Step 3: Fold the Opposite Diagonal
Now fold the opposite diagonal and crease it sharply. Then unfold again. You should see an “X” crease pattern.
Step 4: Fold Horizontally and Vertically
Fold the square in half horizontally, crease, and unfold. Repeat with the vertical fold. You’ll now have both straight and diagonal creases intersecting.
Step 5: Create a Square Base
Bring the diagonal corners together so the paper collapses into a smaller square shape, known as the “square base.” Two flaps should be on each side.
Step 6: Fold the Sides to the Center Line
On the top layer, fold both outer edges into the center vertical crease line. This forms a kite shape.
Step 7: Fold the Top Triangle Down
Fold the top triangle (above the kite shape) down over the previous folds. Then unfold everything from steps 6 and 7.
Step 8: Lift and Flatten Into a Bird Base
Lift the bottom corner and fold it upwards along the crease lines, allowing the sides to collapse inward. This creates the “bird base” with pointed flaps on top and bottom.
Step 9: Shape the Wings and Head
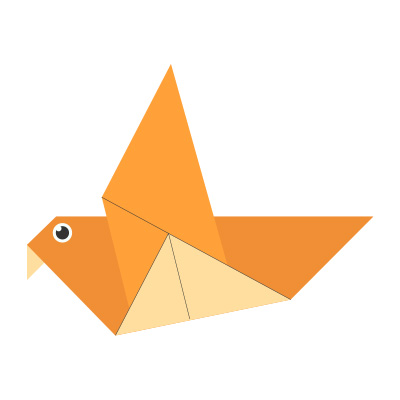
Take the top flaps and fold them down to form wings. To make the head, fold down the tip of one side and crease firmly. Now you have a beautiful origami paper bird!
Tips for Success
- Use thin origami paper for crisp, clean folds.
- Crease each fold sharply using your fingernail or a flat tool.
- Practice with scrap paper before using patterned or specialty sheets.
Why Origami?
Origami isn’t just a hobby it’s also a great way to boost focus, creativity, and relaxation. Plus, paper birds can be used as bookmarks, room decorations, or gifts!
Final Thoughts
Creating an origami paper bird in 9 easy steps is a rewarding way to enjoy a moment of calm and creativity. You can bring a little piece of art to life with just a piece of paper and a few folds. So go ahead, grab a sheet, and give it a try, you’ll be surprised at how easy and fun it is!
Don’t forget to bookmark this guide for your next folding session. Happy folding!