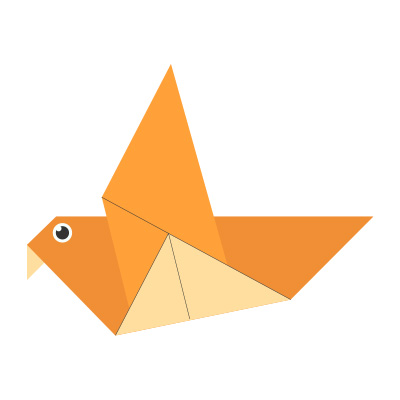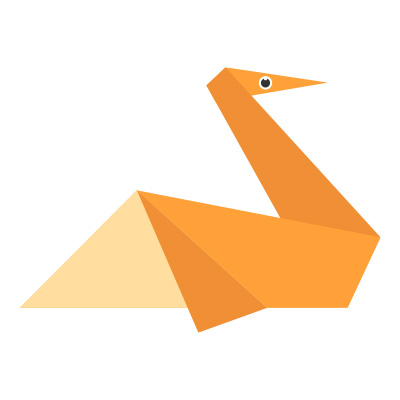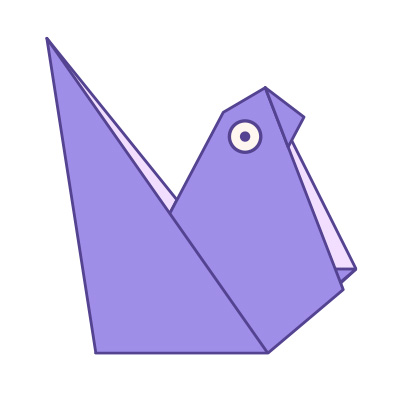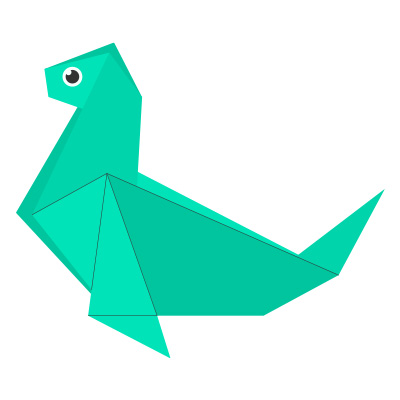
How To Make An Easy Origami Sea Lion: 14 Step-by-Step Instructions
Origami is a beautiful and relaxing craft that brings paper to life through folds and creases. Whether you’re a beginner or an experienced paper folder, learning how to make an easy origami sea lion is both fun and rewarding. This 14-step guide will walk you through the entire process using simple instructions. All you need is a square sheet of paper, some patience, and a creative spirit!
Why Try Origami Sea Lion?
Origami sea lions are not only adorable but also a great way to develop concentration, hand-eye coordination, and fine motor skills. Perfect for kids, teachers, and craft lovers, this paper animal makes a great addition to any sea-themed project or DIY decor.
Let’s dive into the step-by-step instructions and create your very own sea lion!
Materials Needed
- One square sheet of origami paper (preferably brown or grey)
- A flat surface to fold on
- Optional: a pencil to draw eyes and nose
Origami Art and Craft Materials on Amazon
How To Make An Easy Origami Sea Lion: 14 Step by Step
Step 1: Start With the Colored Side Up
Place your origami paper with the colored or patterned side facing up. If your paper is white on one side, make sure that side is facing down to begin.
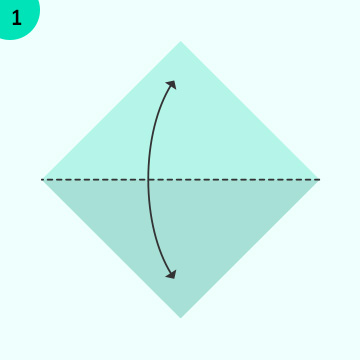
Step 2: Fold the Paper in Half Diagonally
Take the top right corner and fold it down to meet the bottom left corner. Crease sharply, then unfold. This will leave a diagonal crease from corner to corner.
Step 3: Fold Diagonally the Other Way
Now take the top left corner and fold it to the bottom right corner. Press the fold firmly, then unfold again. Your paper should now have an “X” crease pattern.

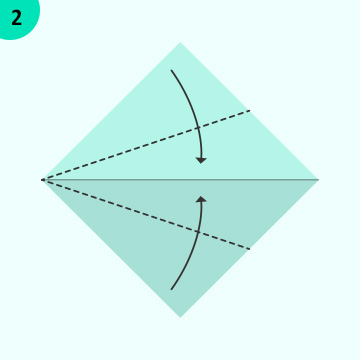
Step 4: Fold Horizontally and Vertically
Fold the paper in half horizontally (top to bottom), crease well, then unfold. Repeat the same for the vertical fold (left to right). You should now see a star-shaped crease across the paper.
Step 5: Collapse Into a Waterbomb Base
Using the creases you’ve made, pinch the corners inward so that the paper collapses into a triangle or “waterbomb base.” You should have a triangle with two flaps on either side.
Step 6: Position the Triangle With the Point Facing Up
Rotate the triangle so that the point faces upward. The open end (with the flaps) should be pointing downward.

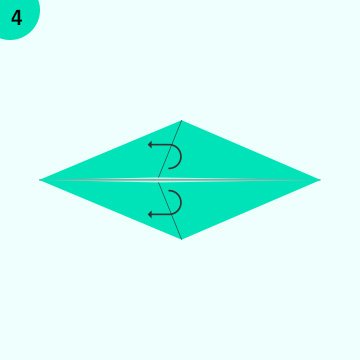
Step 7: Fold the Right Corner to the Top Point
Take the right corner of the triangle and fold it upwards to meet the top point. Crease firmly.

Step 8: Repeat With the Left Corner
Now fold the left corner up to the same top point, matching the previous fold. Your triangle now resembles a diamond or kite shape.

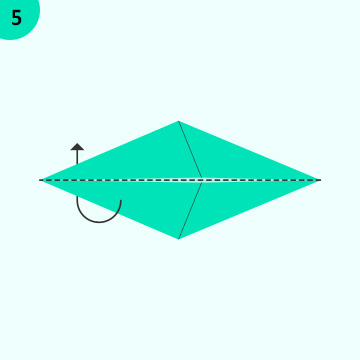
Step 9: Flip the Paper Over
Turn the paper over while keeping the folds in place. The flat side should now be facing up.
Step 10: Fold the Bottom Point Upwards
Take the bottom point (the single corner) and fold it up toward the middle of the model, just below the top point. This will form the sea lion’s body.

Step 11: Fold Down the Top Flap to Make the Head
Fold down the top point to create the sea lion’s head. Adjust the angle so the “head” is slightly tilted forward to give it a lifelike posture.

Step 12: Create the Flippers
Fold both side flaps slightly downward to make the sea lion’s flippers. These don’t have to be perfectly symmetrical but should point slightly out to the sides.
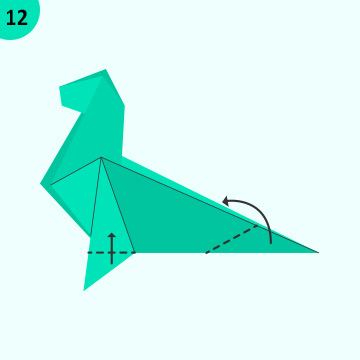
Step 13: Fold the Back to Form the Tail
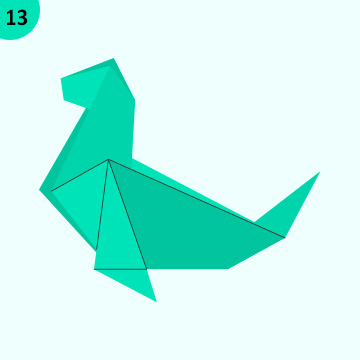
Fold the back point upwards, behind the body. This forms the tail or rear flipper. You can crease it at an angle to give it a more natural shape.
Step 14: Add Finishing Touches
Now that your sea lion is folded, you can draw a face to bring it to life. Use a pencil or fine marker to draw two small eyes, a nose, and maybe even a smile!
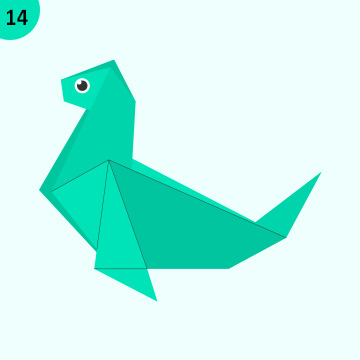
Congratulations! You’ve just made an easy origami sea lion in 14 simple steps.
Tips for Better Results
- Use thinner paper: Lightweight origami paper folds more easily and holds creases better than thick craft paper.
- Make sharp creases: Always press folds firmly for a clean and crisp look.
- Practice with scrap paper: Before using your favorite paper, try the design with regular paper to get comfortable with the folds.
- Decorate: Add googly eyes or color your sea lion for a creative touch.
Creative Uses for Your Origami Sea Lion
Once you’ve folded your sea lion, you can use it in a variety of fun ways:
- DIY greeting cards: Glue your sea lion onto the front of a homemade card.
- Classroom decorations: Great for ocean-themed bulletin boards or learning activities.
- Kids’ crafts: A fantastic addition to animal-themed arts and crafts.
- Bookmarks: Flatten it slightly and tuck it into a book for a unique placeholder.
Final Thoughts
Origami is a simple yet magical art form, and learning how to make an easy origami sea lion 14 step by step is a great project for all ages. With just a square piece of paper and a few folds, you can create an adorable sea creature that’s perfect for display, decoration, or gifting.
Whether you’re folding alone for mindfulness or doing this activity with kids or students, this 14-step origami sea lion will definitely be a hit. Happy folding!