
How To Make An Easy Origami Snake – 11 Step-by-Step Instructions
Origami is the ancient Japanese art of paper folding that transforms a simple sheet of paper into intricate designs. Among the many origami animals, the origami snake is a beginner-friendly and fun project to try. Whether you’re crafting for fun, creating DIY toys for kids, or just exploring your creativity, making an origami snake is a fantastic way to enjoy a relaxing craft. In this guide, we’ll walk you through how to make an easy origami snake in 11 simple, step-by-step instructions.
Why Choose an Origami Snake?
Before diving into the steps, let’s understand why the origami snake is a great project:
- Beginner-Friendly: The design is straightforward and doesn’t require complex folds.
- No Special Tools: All you need is a square piece of paper.
- Creative Freedom: You can use any size or color of paper and decorate it as you like.
- Educational: Great for teaching kids about reptiles, geometry, and the art of patience.
Now, let’s get started!
Materials You Will Need
To make your origami snake, gather the following simple materials:
- 1 square sheet of paper (Preferably 6×6 inches or larger for beginners)
- Optional: Markers or crayons for decorating
- Optional: Googly eyes or stickers for added fun
Origami Art and Craft Materials on Amazon
How To Make An Easy Origami Snake – 11 Step-by-Step Instructions
Follow these simple instructions to fold your origami snake. For best results, crease every fold sharply using your fingers or the edge of a ruler.
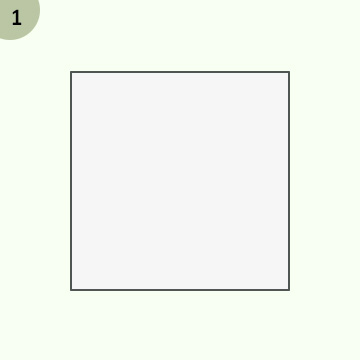
Step 1: Start With a Square Paper
Place your paper flat on a surface with the colored side facing down. If the paper is patterned on one side, this will become the outside of your snake.
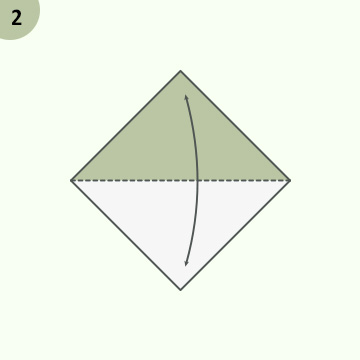
Step 2: Fold the Paper in Half Diagonally
Fold the paper in half diagonally to create a triangle. Crease well and unfold. Repeat this for the opposite diagonal. You should now see an “X” crease on your square.
Step 3: Fold the Paper Horizontally and Vertically
Now fold the paper in half vertically (top to bottom), crease it well, and unfold. Repeat this for the horizontal fold (left to right). You should now have four creases, creating a star pattern on the paper.
Step 4: Create a Waterbomb Base
Using the creases you made, bring the diagonal folds inward and flatten the paper into a triangle shape. This is known as the waterbomb base in origami.
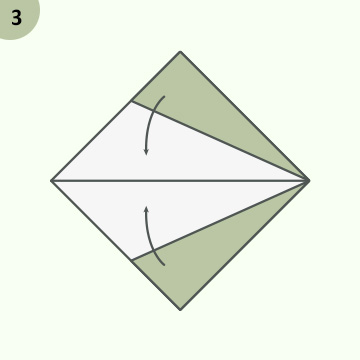
Step 5: Fold the Corners Inward
Take the left and right corners of the triangle and fold them upward so that they meet at the top corner. This will give your model a kite shape.
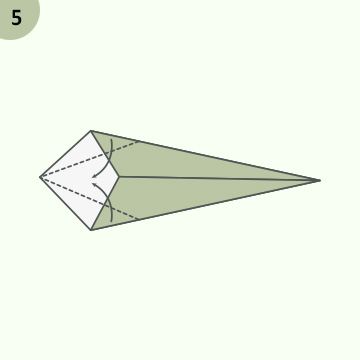
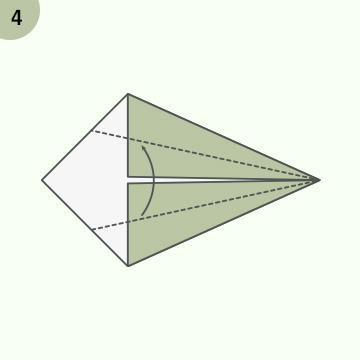
Step 6: Turn the Paper Over
Flip the paper over to the other side. You should see a similar kite shape here. Fold the side flaps toward the center crease, just like before.
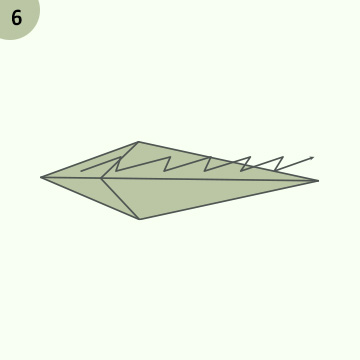
Step 7: Shape the Snake’s Body
Now fold the entire model in half lengthwise, from top to bottom, keeping the folds inside. This will begin forming the thin, elongated body of the snake.
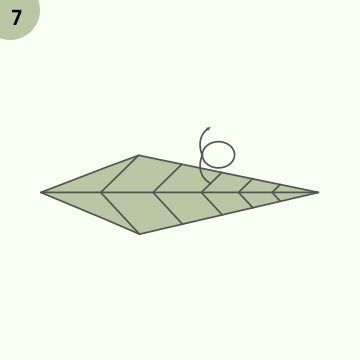
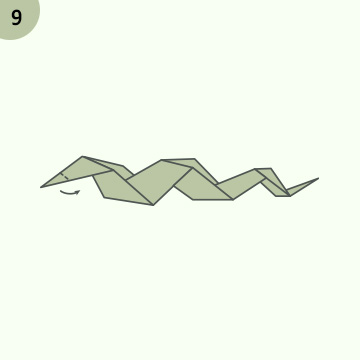
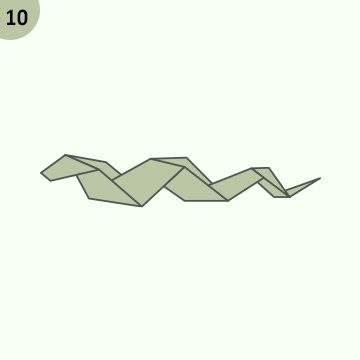
Step 8: Begin Accordion Folds for the Snake’s Curve
Starting at the narrow end (which will become the head), begin accordion folding the body by folding small sections back and forth. This creates the snake’s wavy, slithering look.
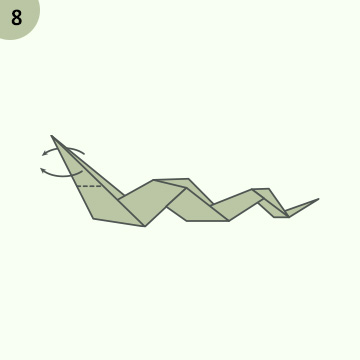
Step 9: Form the Snake’s Head
At the tip of one end, fold a small triangle downward to make the snake’s head. You can adjust the size depending on how large or small you want the head to be.
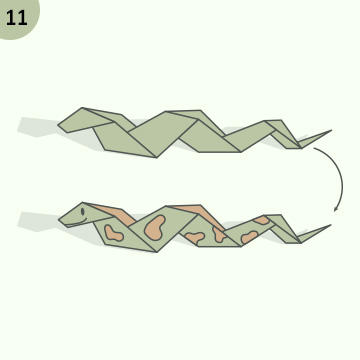
Step 10: Add Details
Using a marker, draw eyes, a tongue, and scale patterns along the body. If you have googly eyes or stickers, glue them to the head to bring your snake to life!
Step 11: Curve and Pose the Snake
Gently curve your origami snake by adjusting the accordion folds and positioning the head. The paper should hold the shape well if the folds are creased tightly.
Tips for Success
- Use thinner paper for easier folding, especially if you’re a beginner.
- Practice on scrap paper before using decorative or colored sheets.
- Make multiple snakes in different sizes for a fun origami collection or classroom display.
- Add artistic flair by decorating your snake with glitter, stickers, or metallic pens.
Fun Variations You Can Try
Want to go beyond the basic design? Here are a few creative ideas:
- Origami Cobra: Try expanding the head to form a hood like a cobra.
- Segmented Body: Add more accordion folds for a longer, more realistic snake.
- Double Snake: Connect two paper snakes together for a fun “dueling snakes” display.
- Hanging Mobile: Create several snakes and hang them with string to make an origami mobile.
Final Thoughts
Now you know how to make an easy origami snake in 11 step-by-step instructions, and you’re ready to slither into the world of paper crafts! This simple project is a great way to introduce kids and beginners to the joy of origami while helping improve focus, fine motor skills, and creativity.
Whether you’re folding alone or making it a fun group activity, crafting an origami snake is sure to bring smiles and satisfaction. So grab your paper, start folding, and watch your creation come to life!
- How to make an easy origami snake
- Step-by-step origami snake instructions
- Easy origami for beginners
- Origami snake tutorial
- Paper snake origami
- DIY origami animals
- Kids origami project


